Set up Postly
Confirm your account, organization, workspace, timezone, and who needs access before campaigns begin.
Getting Started
Connect your destinations, create a post, check each platform, then schedule and review the results.
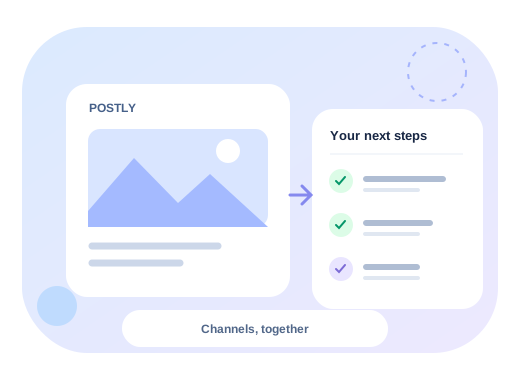
Connect → Create → Customize → Schedule → Publish → Measure
Confirm your account, organization, workspace, timezone, and who needs access before campaigns begin.
Connect the pages, profiles, channels, and supported blog destinations you plan to publish to. Reconnect expired permissions from the same area.
Open the composer, choose destination accounts, add text and media, and keep the first campaign simple enough to verify easily.
Start with one campaign, then adjust the resulting text, media, format, and settings for each network before it goes live.
Publish now, schedule a date and time, or save a draft. Use the calendar and publishing notifications to confirm what happens next.
Each path introduces the workflow, then sends you to the existing detailed guide or product page.
Build posts with reusable media and adapt the final campaign for each destination.
Choose the right workflow for one post, a calendar, a CSV batch, or evergreen content.
Organize workspaces, invite teammates, define permissions, and route posts through review.
Bring supported conversations and contacts into one operating flow for replies and follow-up.
Review post and channel performance, compare outcomes, and decide what to publish next.
Use the ecommerce workflows that are currently available for product-led content distribution.
Extend distribution beyond social channels with supported email and Bio Page workflows.
Connect Postly to apps, automations, and scoped AI-agent workflows using the public developer surfaces.
Use Docs for detailed setup and developer guidance, or FAQ for concise answers and troubleshooting.