Google Sheets Bulk Publishing
Publish at scale from Google Sheets using the Postly add-on. This page is a clean guide to the workflow: install → setup template → fill rows → publish.
Install the add-on, set up your template, fill rows, and publish directly from Google Sheets.
How it works (Global steps)
This is the core workflow. The sheet starts blank — “Setup Template” creates headers and dropdowns so users can fill rows correctly, then publish with validations + status feedback.
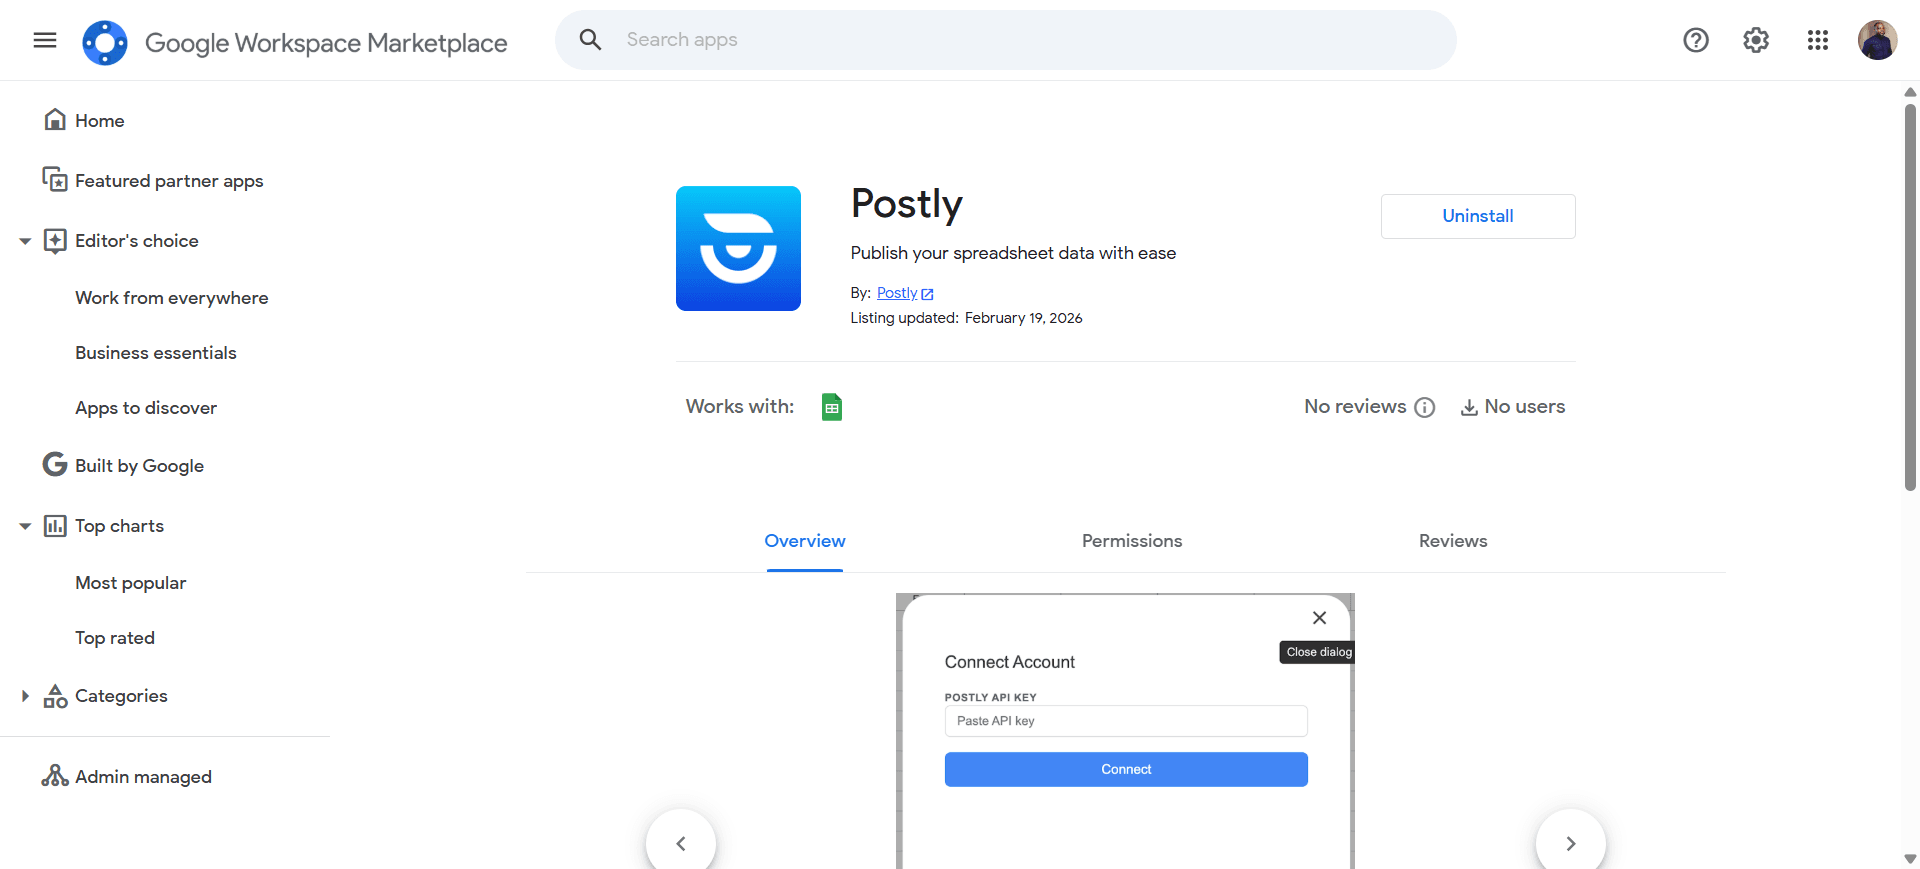
Install the Google Sheets Add-on
Open Postly in Google Sheets
Add your content (dynamic dropdowns)
- Workspaces are pulled dynamically from your account.
- Platforms are pulled from active platforms within each workspace.
- Platforms are filtered per row: select workspace, then that row’s platform dropdown shows only that workspace’s platforms.
Publish (validations → publish → status)
These cards match the real flow: install → menu → template → validations → status/errors.
Install Postly from the Google Workspace Marketplace to enable the Postly menu inside Sheets.
Open Extensions → Postly to access Setup Template, Publish Posts, and Help.

Select a workspace per row. The platform dropdown on that same row auto-filters to that workspace’s active platforms.

Triggered when the user clicks Publish Posts—Postly validates rows/fields and surfaces issues immediately so teams can fix only what’s broken.

After the job runs, each row shows Status (Published/Failed) plus Errors that explain what to change before re-publishing.

Quick checklist
If publishing fails, it’s usually one of these.
- Add-on installed from Marketplace
- Opened via Extensions → Postly
- Setup Template was run (headers + dropdowns created)
- API key connected in the Postly panel
- Required columns are filled for at least one row (leave the rest blank).
- Media URLs are direct/public file URLs (Postly Cloud recommended).
- After publish: check Status + Errors per row
- Fix failed rows only, then re-publish
Helpful links
Extra references for common publishing questions.